 Save
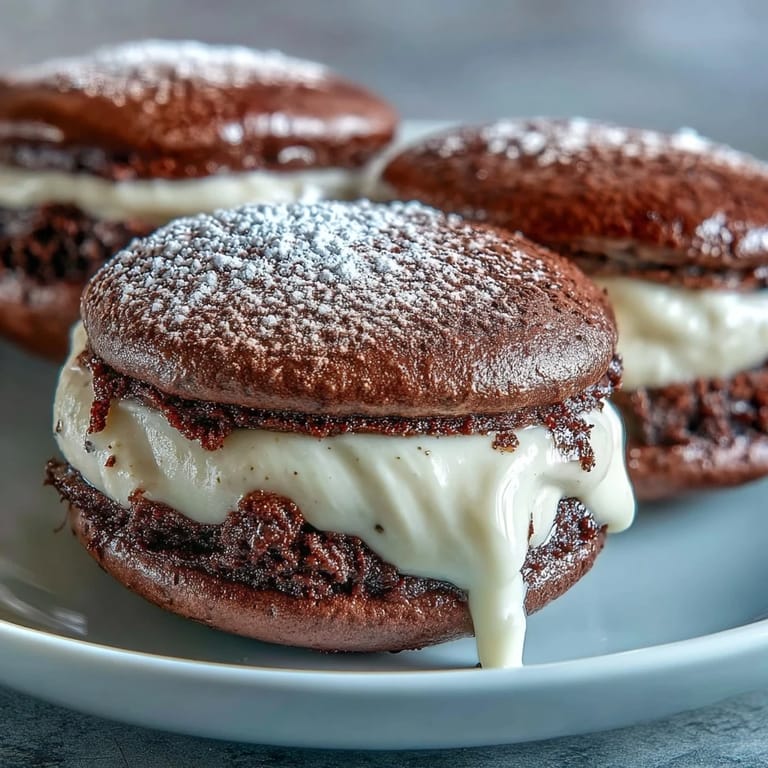
Save My grandmother never understood why anyone would mess with perfection when it came to tiramisu, but the first time I bit into one of these chocolate sandwich cookies, I found myself texting her a photo with the caption hear me out. There is something wildly satisfying about taking all those coffee and cream flavors you love and shoving them between two soft, pillowy chocolate cakes. The textural contrast alone has converted more than one tiramisu traditionalist in my kitchen.
I brought these to a book club meeting last fall and watched three people immediately ask if they could take some home for their husbands. The best part was that nobody could quite place whether they were eating cookies or cake or some magical hybrid of both. The coffee flavor hits you first, then that luscious cream, and finally the deep chocolate that grounds everything.
Ingredients
- All purpose flour: Provides structure for the soft cake like cookies without making them tough or dry
- Unsweetened cocoa powder: Dutch processed gives the deepest color and mellow chocolate flavor
- Baking powder and baking soda: Work together to give the cookies their signature rise and soft texture
- Unsalted butter: Must be truly softened to room temperature or your batter will curdle when you add the egg
- Granulated sugar: Creamed with butter until pale to create those air pockets that make the cookies tender
- Large egg: Binds everything together and adds richness to the crumb
- Vanilla extract: Round out the chocolate and coffee flavors with warmth
- Whole milk: Full fat is essential here for the softest texture in your finished cookies
- Mascarpone cheese: The Italian cream cheese that gives tiramisu its signature silky texture
- Heavy cream: Whipped into the mascarpone to create stability without losing creaminess
- Powdered sugar: Sweetens the filling while keeping it smooth without gritty crystals
- Instant espresso powder: Dissolves completely in liquid for consistent coffee flavor throughout
- Unsweetened cocoa powder: For that classic dusty finish that makes these instantly recognizable
Tired of Takeout? 🥡
Get 10 meals you can make faster than delivery arrives. Seriously.
One email. No spam. Unsubscribe anytime.
Instructions
- Get your oven and pans ready:
- Preheat your oven to 350°F and line two baking sheets with parchment paper, knowing this prep work now saves you so much stress later when the batter is ready.
- Whisk your dry ingredients:
- Combine flour, cocoa powder, baking powder, baking soda, and salt in a medium bowl, taking time to really whisk them so there are no clumps of cocoa hiding anywhere.
- Cream the butter and sugar:
- Beat softened butter and granulated sugar until the mixture looks pale and fluffy, which usually takes about 3 minutes of standing there with your mixer.
- Add egg and vanilla:
- Beat in your egg and vanilla extract until the mixture looks glossy and smooth, scraping down the bowl once to make sure everything is incorporated.
- Combine wet and dry:
- Gradually add the dry ingredients to the butter mixture, alternating with milk and starting and ending with the dry ingredients, mixing just until you no longer see streaks of flour.
- Scoop the batter:
- Drop 24 mounds onto your prepared baking sheets using a medium cookie scoop, leaving about 2 inches between each one because they will spread as they bake.
- Bake to perfection:
- Bake for 10 to 12 minutes until the tops spring back when you touch them lightly, then let them cool on the pans for 5 minutes before moving them to a wire rack.
- Make the coffee mixture:
- Dissolve espresso powder in hot water and set it aside to cool completely, because hot liquid will make your filling separate and nobody wants that sadness.
- Whip the filling:
- Beat mascarpone, heavy cream, and powdered sugar until thick and smooth, then fold in the cooled espresso and vanilla until just combined.
- Chill if needed:
- Refrigerate your filling for 20 minutes if it feels too soft to pipe, which sometimes happens in warm kitchens.
- Assemble the pies:
- Spread or pipe filling onto the flat side of half your cookies, then top with the remaining cookies to create sandwiches.
- Finish with cocoa:
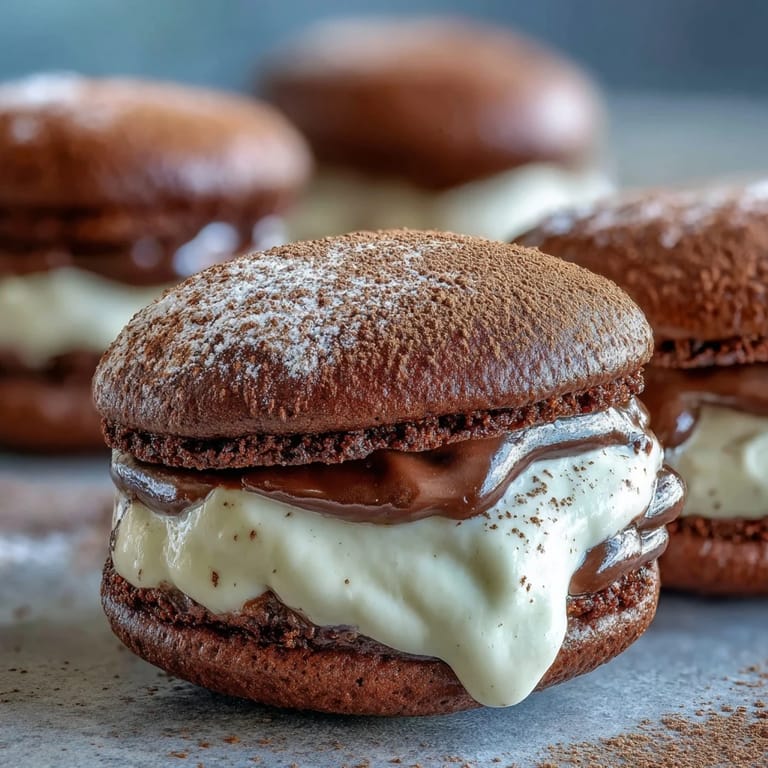
- Dust the tops generously with unsweetened cocoa powder using a fine sieve, then refrigerate for 30 minutes before serving.
 Save
Save My sister in law requested these for her birthday instead of a cake, and watching her face light up when she bit into that first one told me everything. Sometimes the most memorable desserts are the ones that feel familiar but still manage to surprise you.
Making These Ahead
I have learned that these actually improve after a night in the refrigerator, as the flavors meld together and the cookies soften slightly from the cream filling. You can bake the cookies up to two days ahead and store them in an airtight container, then make the filling and assemble the morning you plan to serve them.
Getting The Right Texture
The cookie batter should be thick enough to hold its shape when scooped but soft enough to spread slightly in the oven. If your batter feels too stiff, add an extra tablespoon of milk, and if it seems too runny, chill it for 15 minutes before scooping. Room temperature ingredients are non negotiable here for the proper crumb texture.
Serving Suggestions
These shine on any dessert table but I especially love serving them alongside a cup of decaf after dinner. The portion size feels substantial without being overwhelming, and they are easy to pick up and eat without needing forks. Cut them in half if you are serving a large crowd and want smaller bites.
- Place them on the counter for 15 minutes before serving if they have been refrigerated overnight
- A light dusting of cocoa right before serving keeps them looking fresh and elegant
- These transport beautifully in a single layer between parchment paper
 Save
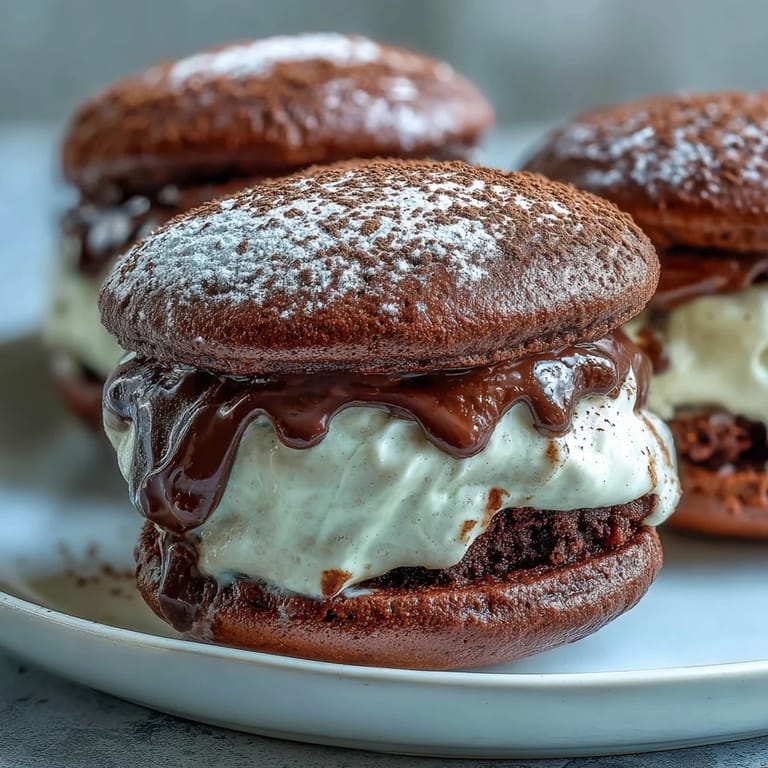
Save There is something deeply satisfying about taking a classic Italian dessert and reinventing it as a handheld treat. Every bite feels like a little hug from both sides.
Recipe FAQs
- → How can I make these whoopie pies alcoholic?
For an adult twist, you can add 1 tablespoon of coffee liqueur, such as Kahlúa or Tia Maria, directly into the coffee mascarpone filling. This will enhance the coffee flavor with a subtle boozy note.
- → Can I prepare the filling in advance?
Yes, the coffee mascarpone filling can be made ahead of time. Store it in an airtight container in the refrigerator for up to 24 hours. If it's too firm when you're ready to use it, let it sit at room temperature for a few minutes or gently beat it briefly to soften.
- → What's the best way to store whoopie pies?
To maintain their freshness and texture, store the assembled whoopie pies in an airtight container in the refrigerator. They will remain delicious for up to 2 days.
- → What if I don't have mascarpone cheese?
While mascarpone provides the signature creamy texture and subtle sweetness, you can substitute it with cream cheese for the filling. Be aware that using cream cheese will result in a tangier flavor profile and a slightly different consistency than the original.
- → Can I freeze these whoopie pies?
It's generally recommended to freeze the chocolate cookie shells without the filling. Once cooled, place them in a freezer-safe bag for up to 1 month. Thaw at room temperature, then prepare the filling and assemble as directed for the best fresh taste.
- → How can I ensure my whoopie pie cookies are uniformly sized?
For consistent whoopie pie sizes, use a medium cookie scoop (about 1.5 tablespoons) to portion out the batter onto the baking sheets. This ensures even baking and makes sandwiching them much easier.